
Team Foundation Server 2012 introduces many new features and improvements. While from the development departments Scrum, Scrum, Scrum is heard more and more, until TFS 2012 is able to sing the same song. He knows terms such as Team, Task Board, Product Backlog, Sprint Planning and Team Home Page. In addition, the Express edition has been added, which is free.
Async checkout is an amazing thing that every developer will appreciate. If you check-out by simply starting to edit a file, you are certainly familiar with the short freeze that accompanies check-out. In VS 2012 connected to TFS 2012, this no longer happens because the check-out is done in the background.
Merge on Unshelve is a function that allows you to pull changes from the drawer into the workspace, in which there are other changes. In this case, conflicts will be resolved, such as when check-in or merge is done.
Local workspace is the name for a new workspace approach. While files used to be marked as read-only, this is no longer the case. Edited files are automatically recognized as checked-out. It has its advantages. You can edit in Notepad and similar editors that are unaware of TFS. VS and TFS recognize the changes. The main benefit is the ability to rename and move files when VS is offline relative to TFS. TFS has more work to do, and the old way of working may be more advantageous for a large number of files. If your workspace has more than 50,000 files, it’s recommended to switch to the old classic server workspace.
TFS Express is an edition that is free for teams of up to 5 users. It only supports SQL Server Express and doesn't include Proxy or Agile/Scrum features.
In Team Explorer, it wasn't exactly intuitive to find the work for a developer to do. The Premium and Ultimate editions include a new My Work interface that quickly displays your work in progress and schedule. It allows you to easily and quickly go through individual work items and displays code review requirements.
Let’s now show you how to upgrade from TFS 2010 to TFS 2012 and how to teach VS 2010 to connect to TFS 2012. Pay attention to the system requirements. In particular, you may encounter a lack of support for SQL Server 2008 - you must upgrade to version 2008 R2 and/or 2012, which is included in the Standard edition of TFS 2012.

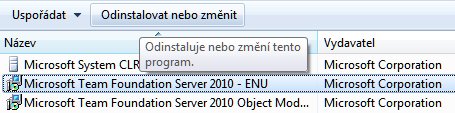
In the case of an in-place upgrade, i.e. installing TFS 2012 on the same computer, it is necessary to uninstall the previous version of TFS 2010 first. If you are converting to another computer at the same time as the upgrade, this step is not necessary.
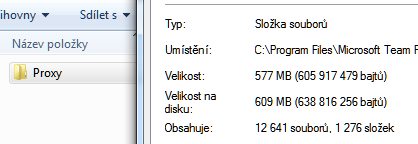
The TFS 2010 folder also contains the TFS Proxy directory. Therefore, look in Program Files and delete any temporary files that may be left behind. This can save you quite a lot of disk space.

The installation of TFS 2008 was very difficult, the installation of TFS 2010 was much easier and the installation of TFS 2012 can be done by anyone.
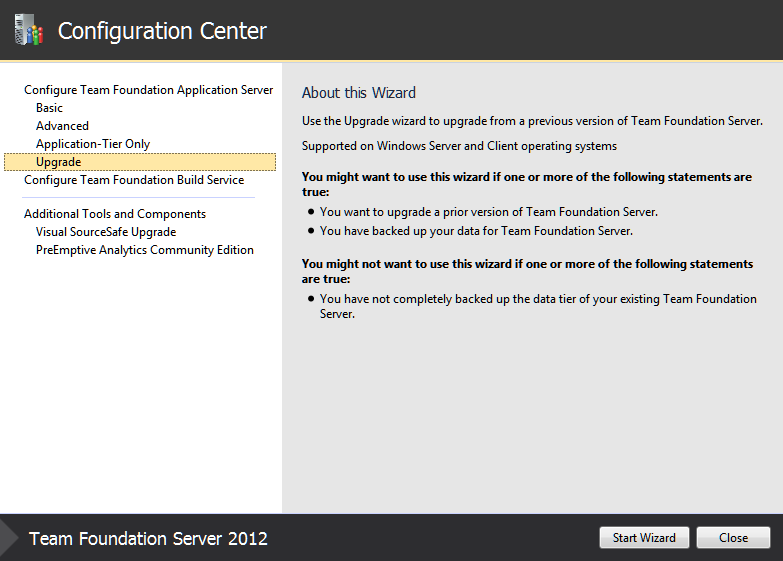
Now you need to select Upgrade from the left menu. The wizard prompts you to create a backup.
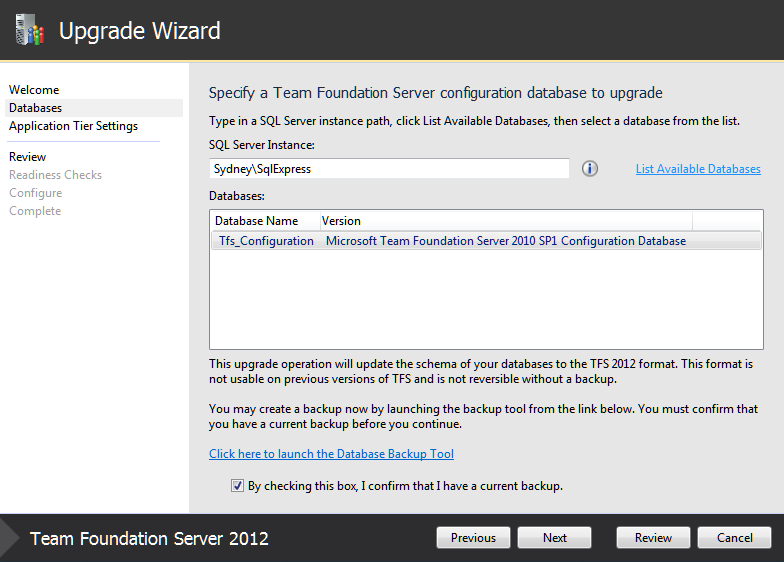
This step selects the Team Foundation Server 2010 configuration database. Now you need to confirm that you have created a backup. Keep in mind, however, that it’s important to back up the database with Team Project Collection (that is, the source database). A backup of the configuration database is not so important in comparison.
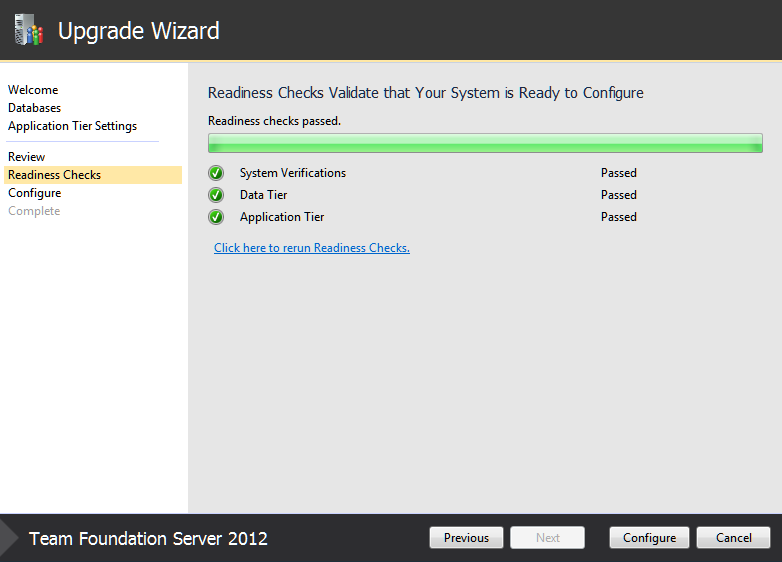
First, a check is performed to prevent possible problems that may arise during the upgrade.
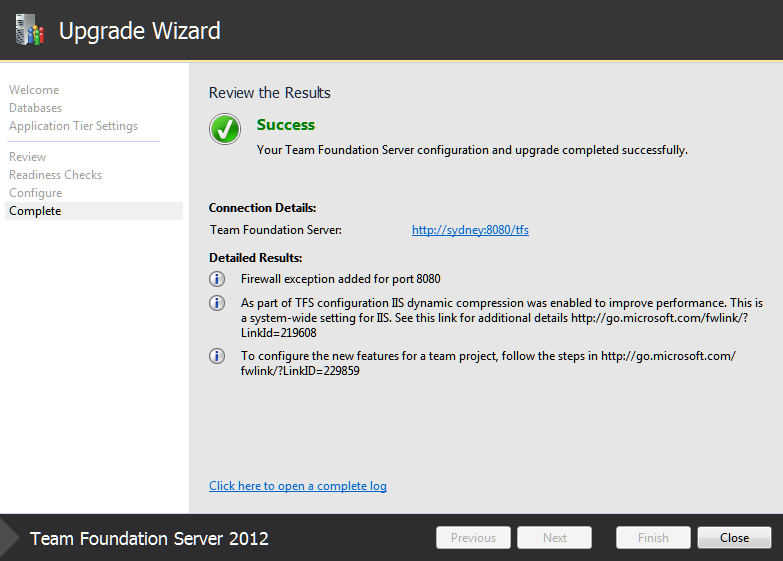
After the upgrade, a firewall is set up and HTTP compression on IIS is turned on.
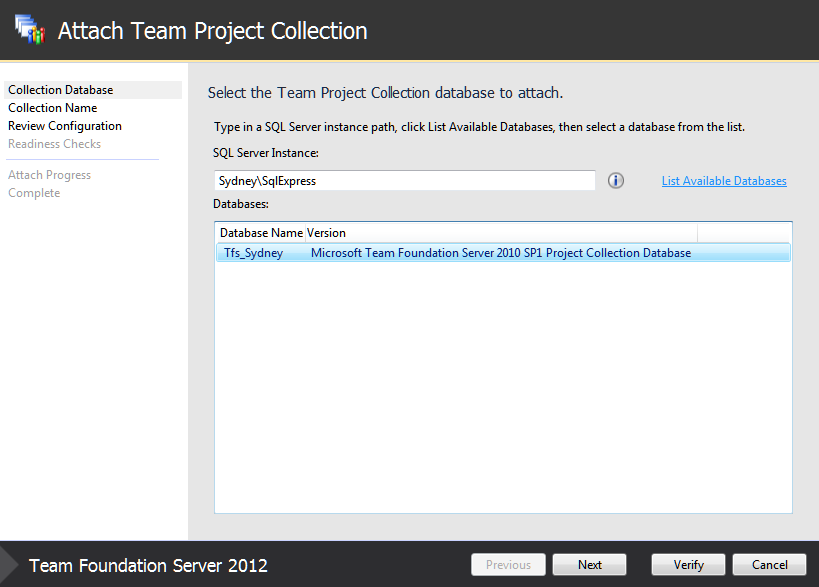
The second way to migrate is to perform a clean installation of TFS 2012 first, and then gradually detach the Team Project Collection from TFS 2010 and connect it to TFS 2012 as needed by the development teams. Migrating in the middle of a development iteration is not the best idea.
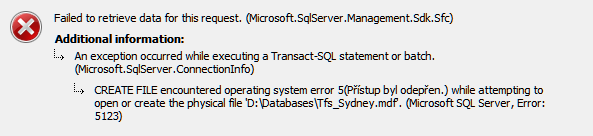
Team Project Collection must already be connected to an on-premises SQL Server. However, if they do not own the database files, this warning message appears during the database mounting in SSMS. This can easily happen if you are connecting a database to SQL Server, which is located on a freshly installed Windows Server.
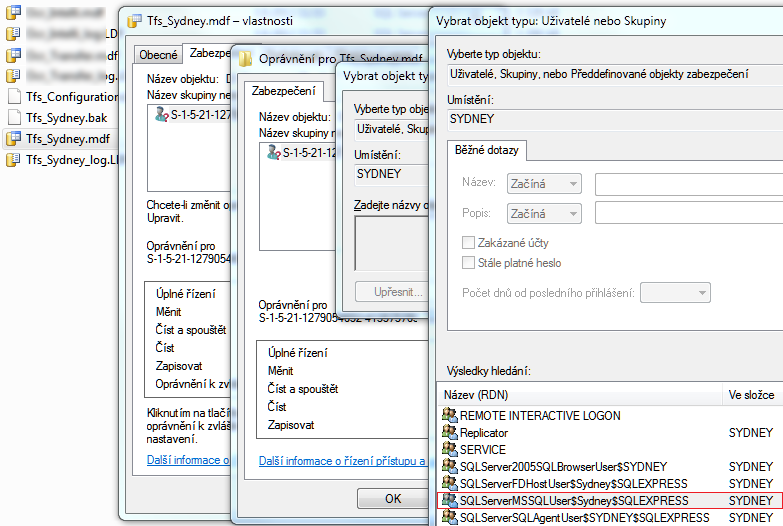
The solution to the problem is easy. Just add SQL Server account rights for full control of the database files. File properties > the Security tab > Edit > Add > Advanced > Find.
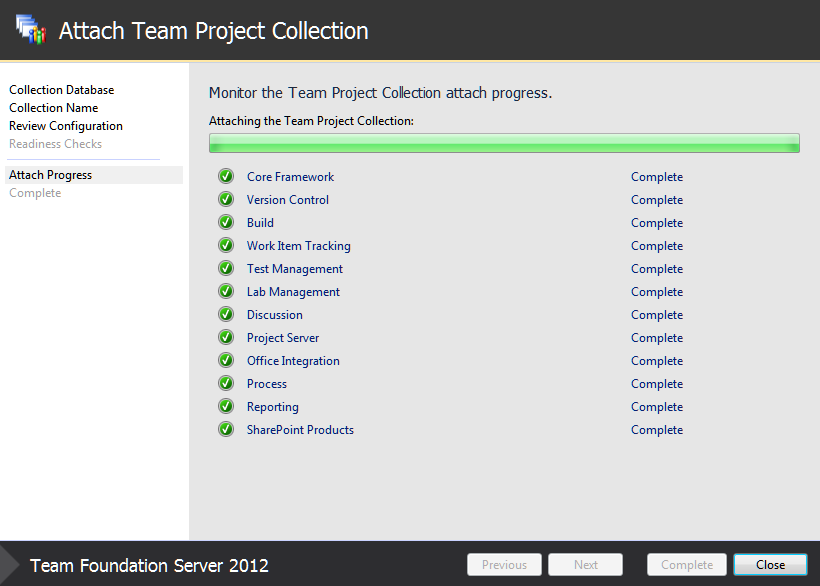
Connecting Team Project Collection is not one of the easiest tasks, but it is completely automatic. If you are performing an in-place upgrade, this step will be done automatically.
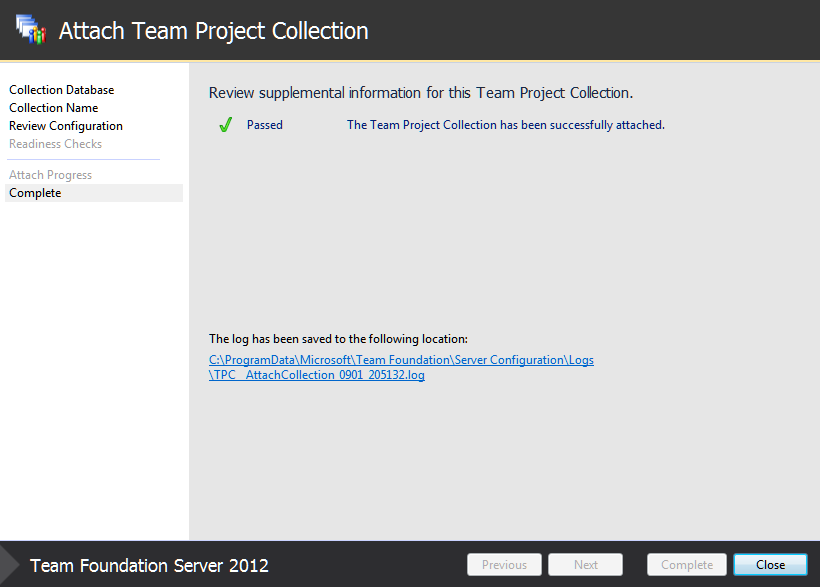
After the connection is successful, you can start VS 2012 and connect to Team Project Collection.
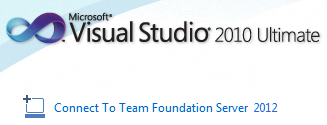
Visual Studio 2010 makes you connect to TFS 2012 by using Visual Studio 2010 SP1 Team Foundation Server 2012 Compatibility GDR.
If you install any Beta or CTP on your computer (like me), it can easily happen that the entire communication with TFS or the entire Visual Studio stops working (as it was in my case). The solution is relatively easy, but a bit lengthy. Therefore, if you uninstall TFS 2010 from the same computer on which you want to continue using VS 2010, you must not uninstall the TFS 2010 Object Model.
To repair VS 2010, follow these steps:
- Download the Visual Studio 2010 ISO.
- Run the VS 2010 installer and perform the repair. Meanwhile, download ISO VS 2010 SP1. Finally, it restarts the PC when prompted.
- Then, you install VS 2010 SP1. When you see a window that requires the F# 2.0 Ruthimé installer, you can find it on the SP1 installation disc. After installation, you will restart your PC when prompted.
- Install TFS 2010 SP1 if you have not already done so in the past.
- Download and install Team Foundation Server 2010 SP1 Object Model.
- Install VS 2010 SP1 TFS 2012 Compatibility GDR. If you connect to TFS 2012 from VS 2010, it is likely that the binding will still be broken. However, this can be very easily remedied. Just open the dialog from the File > Source Control > Open From Source Control menu, choose Team Project, and open the solution file (.sln). This reconnects the workspace solution with the TFS solution and makes everything work as before.

Async checkout can also be set for a server workspace, but some of its features will not be supported. You can find the settings in Visual Studio: Team > Team Project Collection Settings > Source Control.
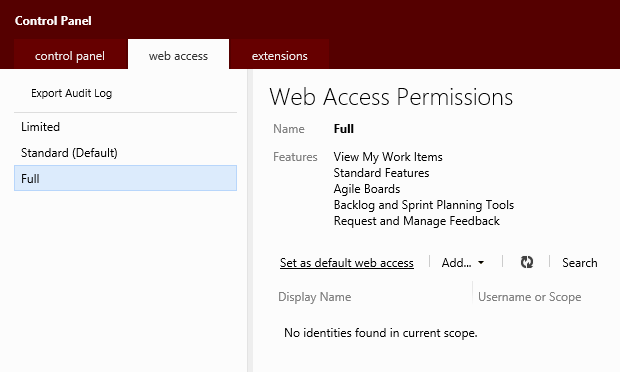
To access the Backlog and Sprint Planning Tools and Request and Manage Feedback features, you need to turn on full access to TFS via the web interface. To open the TFS dashboard, click Administer Team Foundation Server on the landing page of the web interface.
The article was written for the Czech MSDN Blog. Edited by Michael Juřek.